Find A Dealer
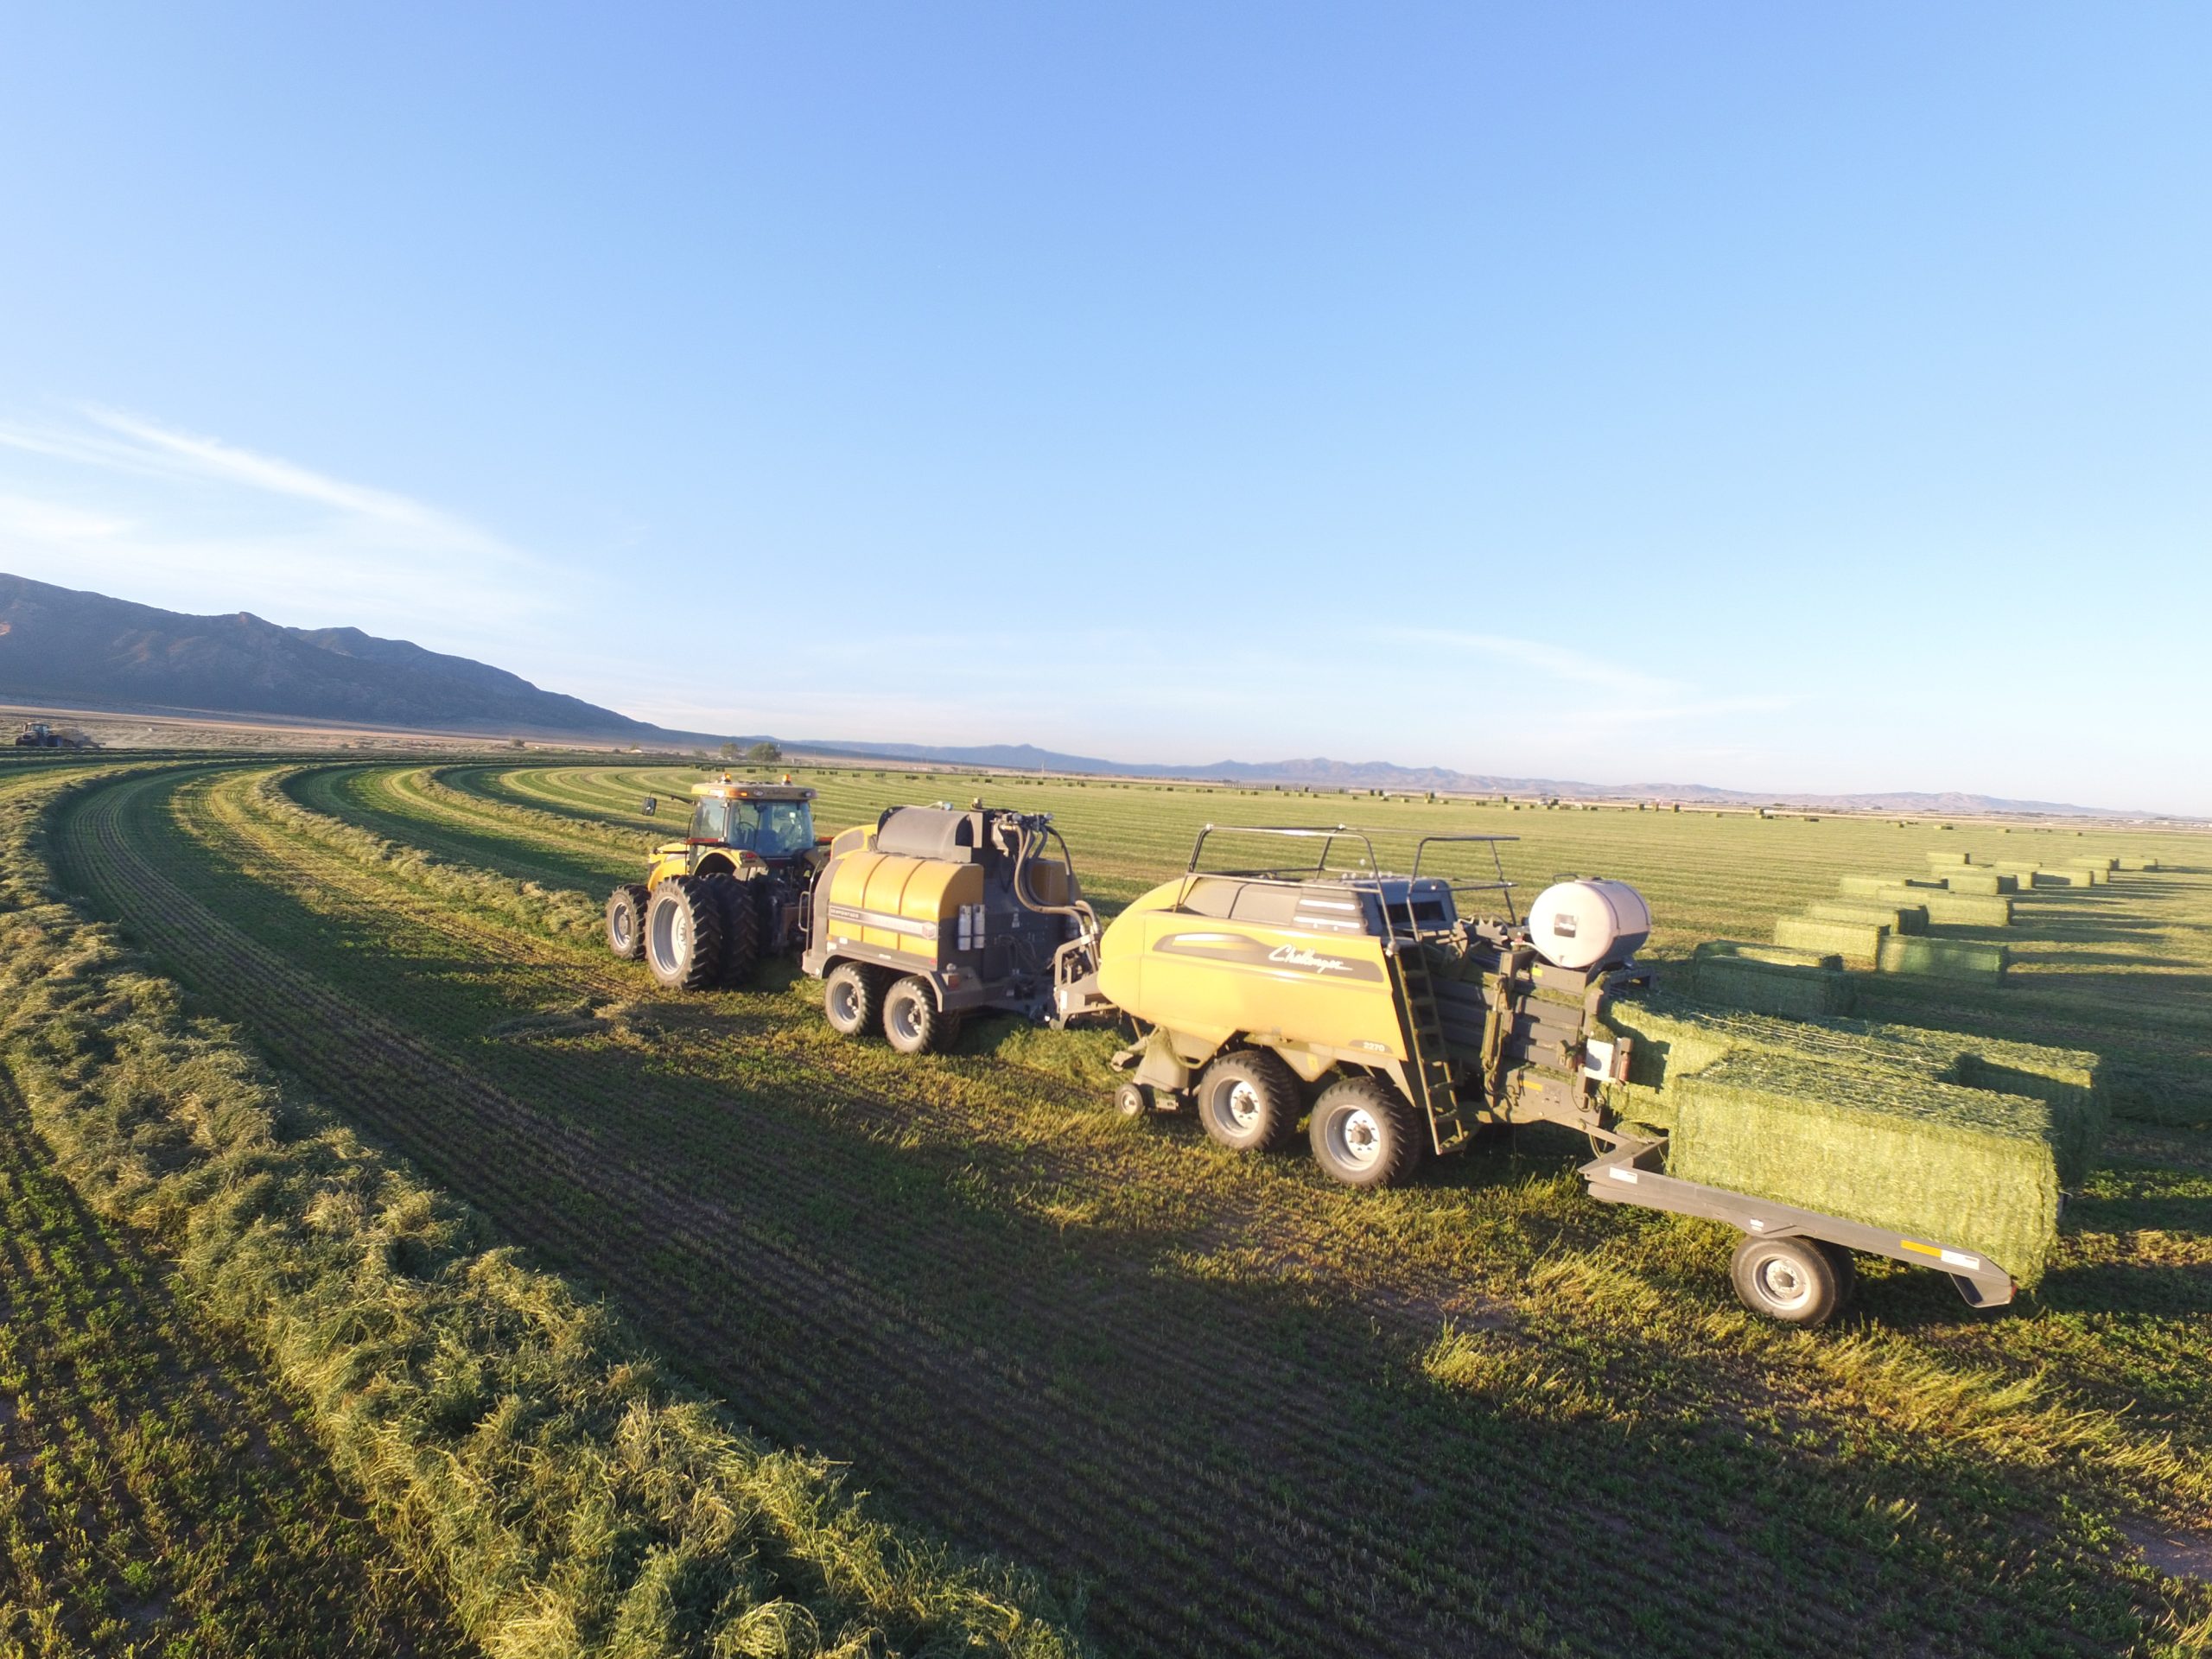
Start Baling
First, Determine the Condition of the Windrow
In the last blog post, we talked about what to do when you first arrive in the field to bale hay. Before baling hay one should determine the condition of the windrow. This means that farmers should make sure that their hay is fully cured, and determine if there is any moisture or dew in the windrow. Often, there is either natural dew on the top of the windrow, or settled into the bottom of the windrow. This is important to know where the dew in the windrow is, so that we know where to apply the steam in order to make a consistent bale from top to bottom.
In the video, Dave determines that the hay is fully cured, meaning that there are no green stems or stem moisture in the cured hay. He also determines that the top of the windrow is bone dry, but that there is a little natural dew in the bottom of the windrow. He uses this information to apply steam to the hay when he starts baling.
Adjusting Steam Rates


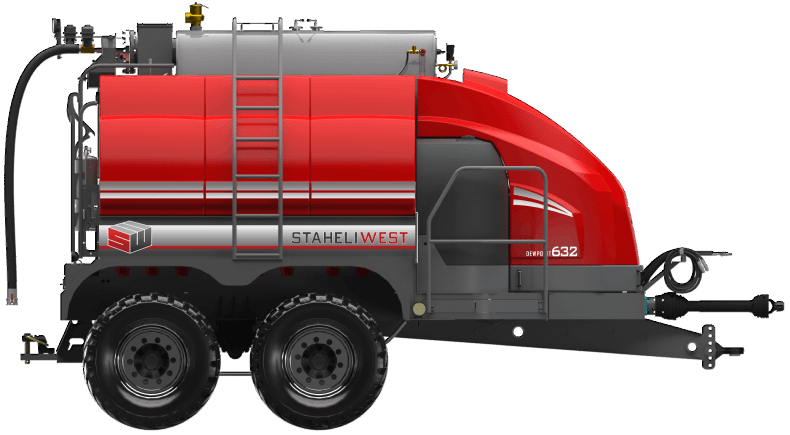
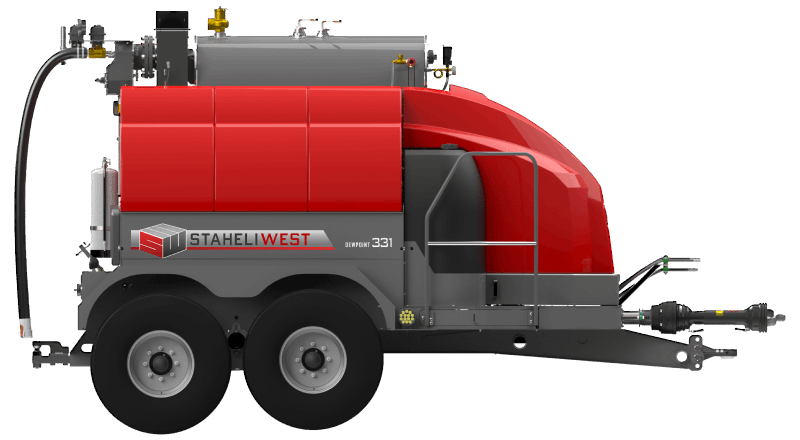
Knowing where the moisture or dew is in the windrow is important, because with the DewPoint hay steamer, we can control where we apply the steam. Typically, there are four different steam manifolds mounted in the baler. The bottom front manifold is fastened under the pickup and steams the bottom of the hay before the baler picks it up. The top front manifold typically sits on the wind-guard and steams the top of the hay as the hay is picked up. Two more manifolds, as shown in the graphic above, steam the top and bottom of the windrow as it passes through the feed chamber. This combination of manifolds allows operators to make a consistent, quality product across a wide variety of weather and natural dew conditions. Using steam has been proven to reduce leaf loss by 58% compared to good, natural dew.
In the video, Dave will start baling with both the top front and top rear manifolds at 100%, while both bottom manifolds are started at 60%. This is due to the moisture that is in the bottom of the windrow. The master steam slider, controls all four valves proportionally. Dave will set the master steam rate at 60% to start out. We will keep it here until the Gazeeka moisture sensor reads the moisture in the bales as they come out the bale chute.
Starting to Bale
When you first start baling, it’s important to bale the first 4-5 bales with a lower steam rate. In the video, Dave starts with his master steam rate at 60%. He will maintain that steam level until he bales 4-5 bales, which will give him a feel for how much steam he should apply to the hay. Starting with a lower steam rate also ensures that we don’t make the hay too wet. Baling a few bales dry is better than baling a few bales too wet. Once the Gazeeka moisture sensor reads the moisture of the first 4-5 bales we can adjust our steam accordingly. Often, we will need to increase our steam rate incrementally until we reach our desired moisture level. In Utah, our optimal bale moisture should be between 12-15%.
Maintaining Operating Pressure
The DewPoint machines are designed and programmed in a way that maintains boiler steam pressure automatically, without any input from the operator. Once the machine is put in field mode, all the operator must do is adjust the steam rates according to the Gazeeka moisture readings. The boiler is programmed to maintain an operating pressure of around 12 PSI. Depending on the steam rate, the DewPoint machine will either turn off or turn on the burner automatically or release excess pressure through the steam purge valve in order to maintain a constant steam pressure.
What’s Next
Now that we know how to properly start baling with the DewPoint hay steamer, our next blog will cover some best practices when it comes to applying steam to the hay. We will cover the different valve adjustments that you have available to you as you encounter different dew conditions.